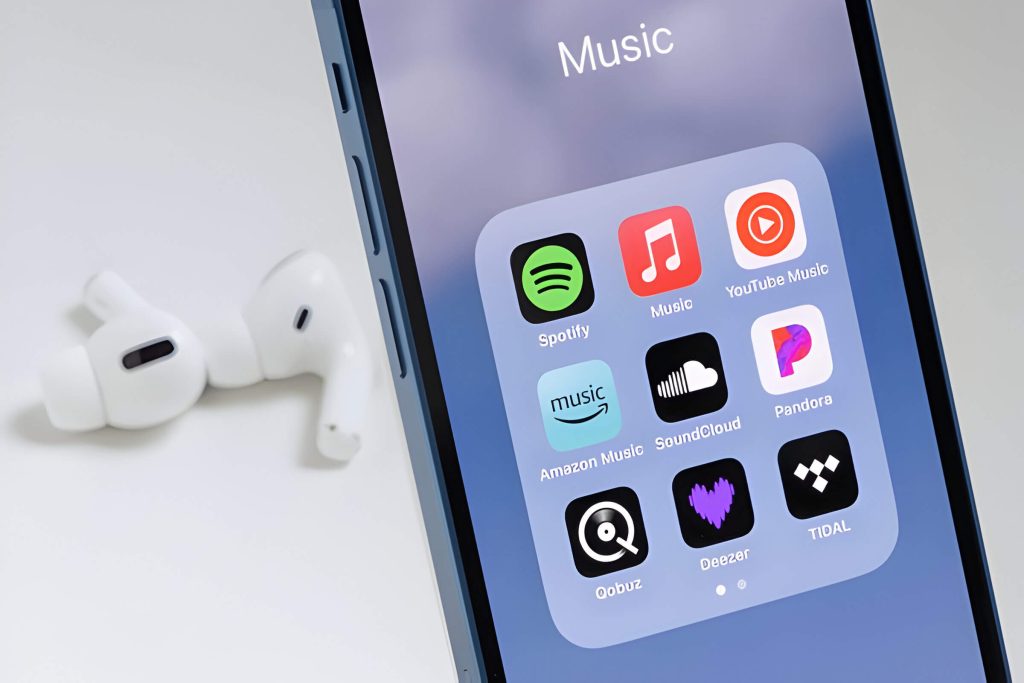
Amazon Music offers a vast library of songs, but there may come a time when you decide to cancel your subscription. Whether it’s due to budgeting reasons, switching to another service, or simply not using it enough, cancelling your Amazon Music subscription is a straightforward process. Follow these steps to manage your subscriptions and make informed decisions about the services you use.
Step-by-Step Guide to Cancel Amazon Music
Step 1. Accessing Your Amazon Account Settings
To begin managing your Amazon account settings, the first step is to log into your Amazon account. Start by navigating to the Amazon website and clicking on the “Sign In” button located at the top right corner of the homepage. Enter your email address or mobile number, followed by your password, and click “Sign In.”
Once you have successfully logged in, hover over the “Account & Lists” menu also situated at the top right corner of the page. From this dropdown menu, select “Your Account.” This will take you to a comprehensive dashboard where you can manage various aspects of your account.
In this dashboard, you’ll find several sections dedicated to different functionalities. To manage subscriptions on Amazon, look for options like “Memberships & Subscriptions” or “Manage Your Content and Devices.” Here you can view and modify any active subscriptions or memberships linked to your account.
In addition to subscription management, this section allows for extensive account management activities such as updating personal information, changing payment methods, reviewing order history, and adjusting privacy settings. By familiarizing yourself with these options within your Amazon account settings, you can ensure a more streamlined and personalized shopping experience.
Step 2. Navigating to the ‘Amazon Music’ Section
To navigate to the ‘Amazon Music’ section, follow these simple steps to ensure you can easily access and manage your music subscriptions and settings. First, log in to your Amazon account using your preferred web browser or the Amazon app. Once logged in, hover over the ‘Accounts & Lists’ option located at the top right corner of the homepage.
From the dropdown menu, select ‘Your Account.’ This will take you to a new page where you can see various account-related options. Scroll down until you find the section labeled ‘Memberships and Subscriptions.’ Here, click on ‘Amazon Music Settings’ or simply look for any mention of music subscriptions.
By accessing this section, you’ll be able to view and manage all aspects of your Amazon Music subscription. Whether you’re looking to update payment information, check your subscription status, or explore different streaming services available through Amazon Music, this area provides all necessary tools at your fingertips.
Navigating through these steps ensures that you can efficiently locate and modify any settings related to Amazon’s music streaming services.
Step 3. Selecting ‘Cancel Subscription’
To finalize the process of ending your music subscription on Amazon, you must select the ‘Cancel Subscription’ option. This step is crucial for those looking to cancel their Amazon Music membership and discontinue the Amazon Music service.
First, navigate to your Amazon Music settings. Once there, locate the section that details your current subscription plan. You should see an option labeled ‘Cancel Subscription.’ Click on this button to proceed.
After selecting ‘Cancel Subscription,’ you’ll be prompted to confirm your decision. Amazon may also offer alternative plans or incentives in an attempt to retain your membership. Review these options carefully if you’re still considering discontinuing the service.
Once you’ve confirmed your choice, you will receive a notification confirming that your request to cancel has been processed. Your access to Amazon Music will continue until the end of your current billing cycle, after which it will be terminated.
By following these steps, you can efficiently manage and end your music subscription on Amazon without any hassle.
Step 4. Confirming the Cancellation Process
When you’ve decided to cancel your Amazon Music subscription, it’s crucial to ensure the process is completed correctly to avoid any unexpected charges. Step 4 involves confirming the cancellation process, which is an essential step to finalize your subscription end.
First, after initiating the cancellation, you will typically be directed to a cancellation confirmation screen. This screen will usually ask you to verify that you indeed want to cancel your service. It’s important here to carefully read through any prompts or messages displayed. These might include information about what happens when you cancel and any potential impact on your account or music library.
Next, proceed by clicking on the button or link that confirms cancelling Amazon Music. This action should lead you through a final verification step where you’ll need to confirm once more that you’d like to end your subscription. Keep an eye out for confirmation messages or emails sent by Amazon; these serve as proof that you’ve successfully cancelled the service.
Lastly, it’s wise to check back into your account settings after completing these steps. Look for any signs indicating active subscriptions and verify that the cancellation of service has been processed correctly. By following these steps diligently, you’ll ensure that your Amazon Music subscription is fully terminated without any loose ends.
Troubleshooting Common Issues When Cancelling Your Subscription
When attempting to cancel your Amazon Music subscription, you may encounter several common issues that can make the process frustrating. Understanding these problems and knowing how to troubleshoot them can save you time and effort.
One frequent problem is difficulty navigating the Amazon website or app. To address this, ensure you are logged into the correct account associated with your subscription. Once logged in, go to “Your Memberships & Subscriptions” under the “Accounts & Lists” menu. From there, find your Amazon Music subscription and follow the prompts to cancel.
Another common issue is not receiving a confirmation email after initiating the cancellation process. If this happens, check your spam or junk folder first. If you still don’t find any confirmation, log back into your account to verify that the cancellation was processed correctly.
Sometimes users face technical glitches that prevent them from ending their membership. In such cases, clearing your browser cache or trying a different browser might resolve the issue. Additionally, using a stable internet connection can help avoid any interruptions during the cancellation process.
If all else fails and you’re still experiencing problems cancelling your Amazon Music subscription, reaching out to customer support for cancellations is a reliable next step. Contacting Amazon’s customer service directly through their help center or via phone can provide personalized assistance to ensure your membership ends successfully.
The Impact of Cancelling Your Subscription and What Happens Next?
When you decide to cancel your Amazon Music subscription, it’s important to understand the immediate and long-term impacts on your music streaming experience. One of the most noticeable changes is the end of Amazon Music benefits. This means you’ll lose access to ad-free listening, unlimited skips, and high-quality audio streaming that subscribers enjoy.
So, what happens after you cancel Amazon Music? Firstly, any playlists or music you’ve downloaded for offline listening will no longer be accessible. Your account will revert to a free tier, where you’ll still have access to some songs but with limitations such as ads and restricted skips.
The effects of cancelling a streaming service like Amazon Music can also extend beyond just losing premium features. If you’ve integrated Amazon Music with other smart devices or services within the Amazon ecosystem, these integrations may be affected as well. For instance, voice commands for playing specific songs via Alexa might not work as seamlessly as before.
In summary, while cancelling your subscription might save you money in the short term, it’s essential to weigh these considerations against the convenience and enhanced user experience that come with a paid plan.


